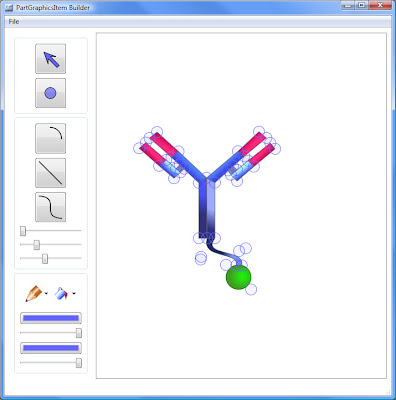
Make your own part graphics using the PartGraphics application that comes with TinkerCell. The second video tutorial contains a small section on this program, but here is the basic idea:
- Place points on the screen.
- Connect points using lines, beziers, or arcs (arcs are a little strange).
- Make a closed polygon.
- Repeat steps 1-3 for all the polygons you want to make
- Color -- gradients and transparent colors are available, so be creative
- Save -- you will get two files: the xml file encoding that actual graphics and a png file that can be used as an icon.
- Open TinkerCell and use the "replace part graphics" button (next to the copy-paste button) to replace any of the parts on the screen with the file you just saved.
- Rename your part file with the same name as one of the items in the PartsTree.xml and place the file in the PartItems folder.
You can also use this program to edit existing files, such as Gene.xml or Regulatory.xml
No comments:
Post a Comment